General instructions
You can create and deploy apps for multiple frameworks with the following steps.
Additional details for each individual framework can be found at the bottom of this page.
Pre-requisites
Before deploying/launching your app with JHub Apps Launcher, you'll need:
- working code in a Jupyter Notebook or a Python script, and
- environment with all the necessary packages.
For all frameworks, you need to include the jhsingle-native-proxy >= 0.8.2 package in your environment along with the framework itself (e.g., bokeh, panel, etc.).
Also, be aware that jhub-apps may be launching your app from a different directory than you used during development. Therefore, its important to always define absolute paths in your apps. For example, if you use pathlib to define a path, you'll need to call .resolve() in order to make it absolute.
Some frameworks may have additional package or code requirements. Check out their specific documentation pages for details.
App deployment process
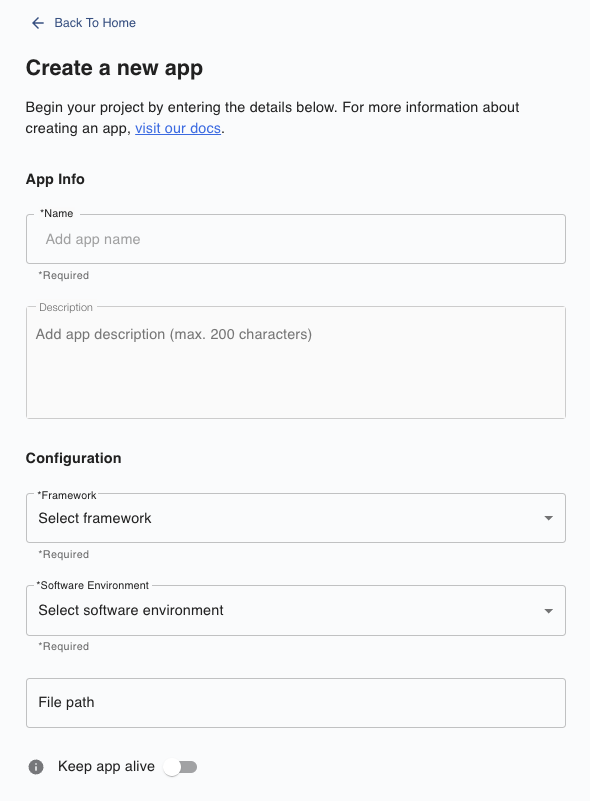
From the JHub App Launcher Home Screen, click on the "Deploy App" button. You'll be brought to the app-creation form. Fill out the form using the guide below (detailed descriptions of each field can be found below).
The first portion of the form includes details about the app and its configuration.
The next section of the form allows users the option to specify environment variables which will be set in the process of deploying the app.

To add environment variables, users can enter the key/value pair for each variable.

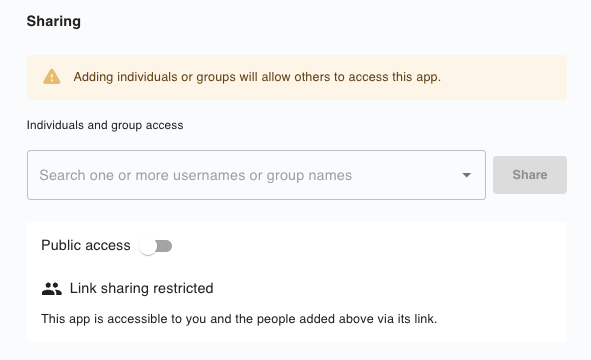
JHub-apps allows the optional sharing of apps with others on the JupyterHub deployment. Users can give either individuals or groups access to their apps. Additionally, users have the option to make an app fully open to the public - without authenticating via JupyterHub. All sharing options should be set with care since from within the app, all users will have the permissions of the original app creator.
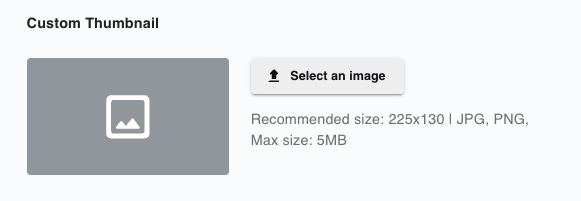
Finally, users can select an image to use as a thumbnail for the app card on the home screen. If no thumbnail is selected, the card will display the logo of the framework in which it was created.
After submitting this form, users are redirected to the second stage of the process - server
selection. Here, users must select the server/instance type (i.e. machines with CPU/RAM/GPU
resources) in which to deploy the app. This is only applicable if you're using
KubeSpawner as the spawner for JupyterHub.
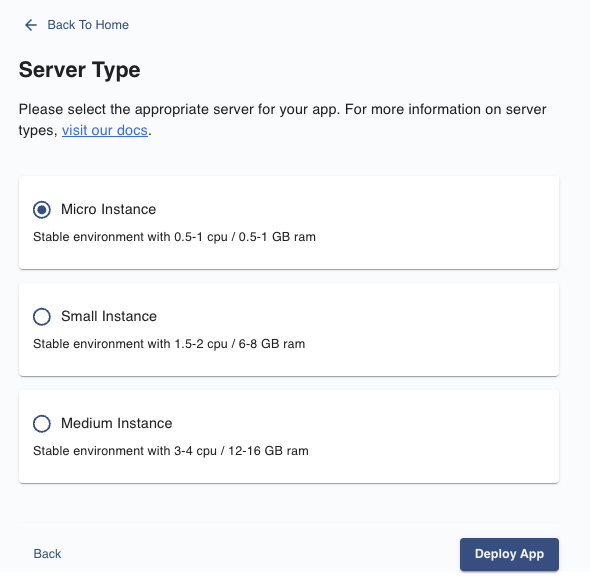
Once you click "Deploy App", you'll be redirected to the app page which will automatically refresh when the app is ready for viewing.
Details about each field are included below:
| Field | Description |
|---|---|
| Name | Provide a meaningful name for your application. |
| Description (optional) | Add addition information about the application. |
| Framework | Select the framework used by your application from the dropdown. |
| Software Environment | Provide the environment used while developing your notebook/script which has jhsingle-native-proxy, the corresponding framework (e.g., panel, gradio, etc.), and additional requirements documented in framework-specific pages. |
| Filepath | Provide the path (from root in JupyterLab or absolute path) to your application's code. |
| Keep alive | Toggle on to keep app alive indefinitely. If toggled off, app server will be shut down according to the jupyter-idle-culler timeout settings. |
| Environment Variables (optional) | The set of environment variables to set before starting the app. This is useful when creating custom apps. |
| Custom Command (required if the Framework is "Custom Command") | Python command to start an arbitrary app (only visible if using "Custom Command" option). |
| Sharing | To share the application with a set of users and or groups. |
| Allow Public Access | Toggle to share the application with anyone on the internet, including unauthenticated users. |
| Thumbnail (optional) | Choose a meaningful thumbnail for your application. The default thumbnail is the application framework's logo. |
Modifying existing apps
Once your app is running, it will appear on the JHub Apps homepage as an individual card.
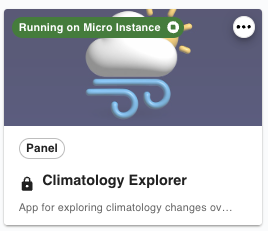
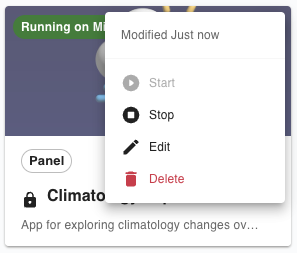
You can now access and manage (start, stop, edit, and delete) the app via the card.
Next steps
Now that you've learned the process for deploying an app, you are prepared to deploy one yourself. To learn how to deploy apps for the available frameworks (including example code), check out these guides: